Thinking about listing your Hill Valley home and wondering how to make it shine in photos and in person? Midcentury floorplans can be a huge asset when they are staged to highlight scale, light, and flow. With a few focused changes, you can help buyers connect with your home online first, then feel that same pull during showings. In this guide, you’ll get room-by-room moves tailored to Hill Valley’s midcentury style plus a four-week prep plan that syncs with photography day. Let’s dive in.
Why staging matters in Hill Valley
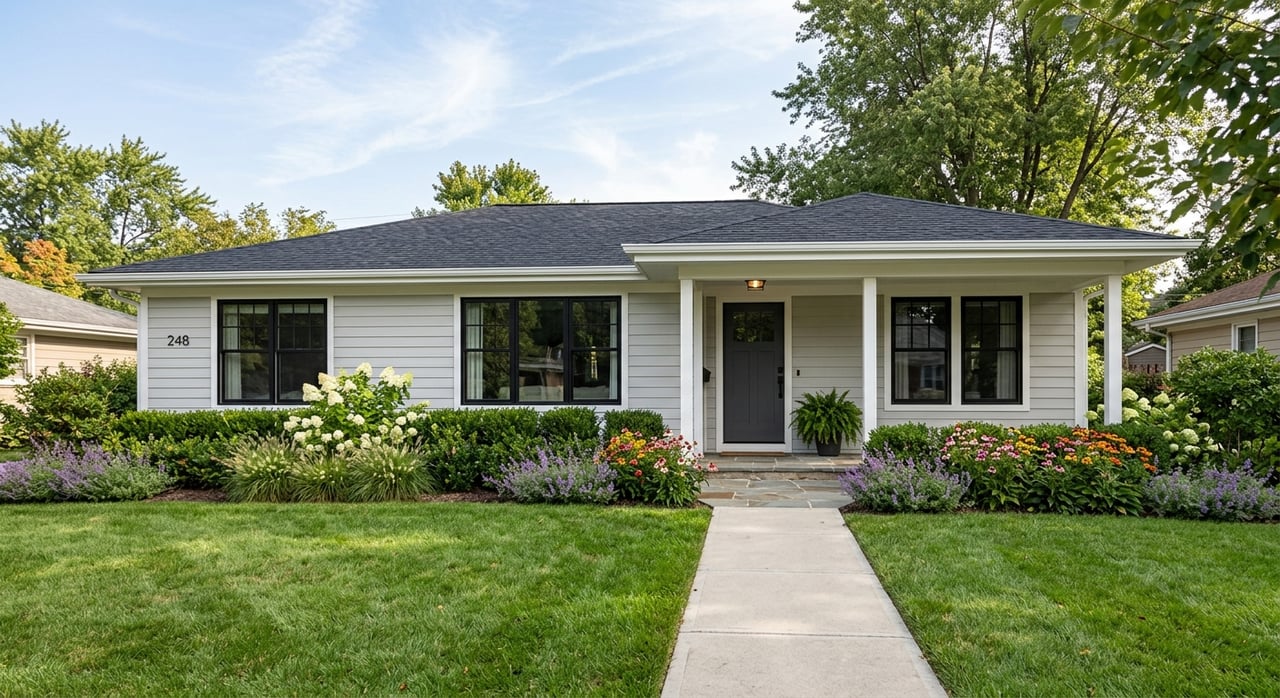
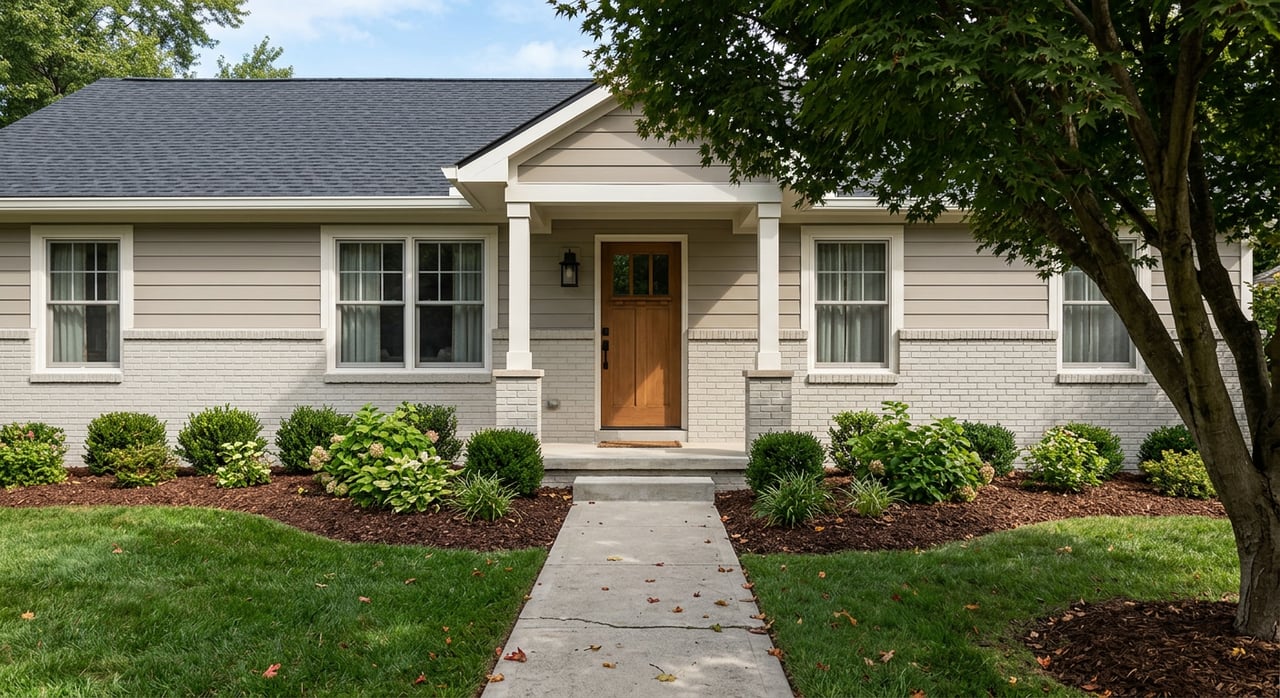
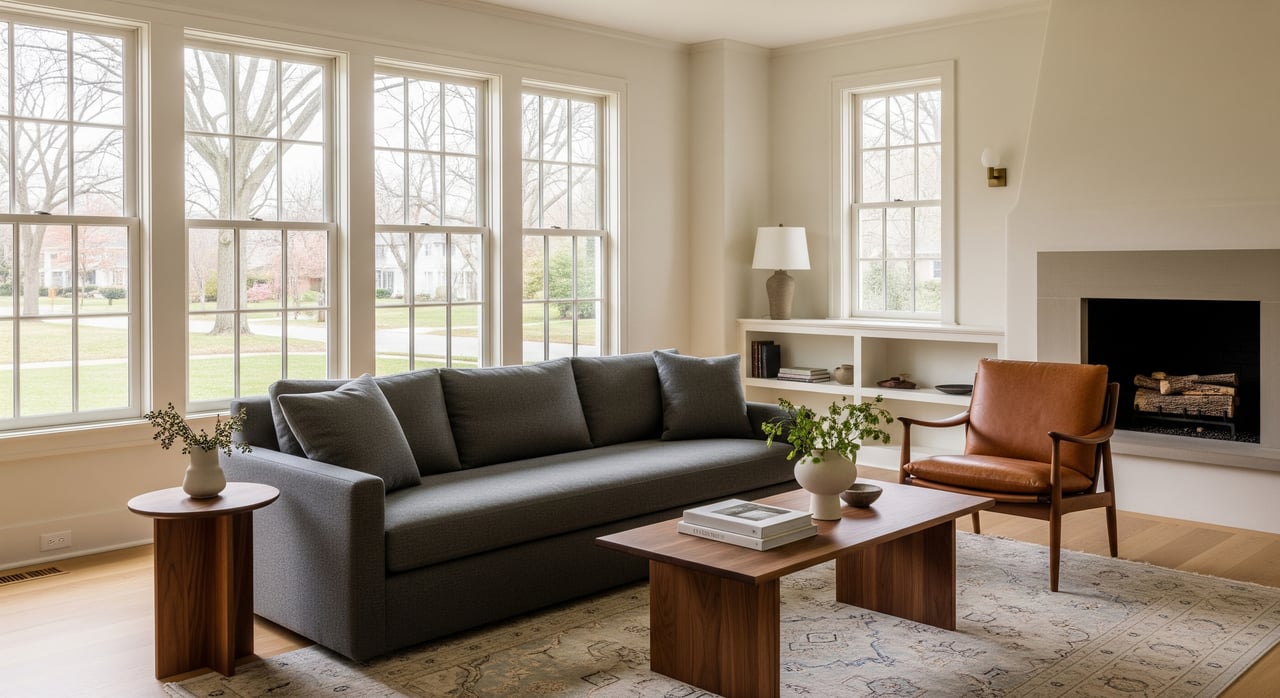
Hill Valley and many Indianapolis neighborhoods feature midcentury layouts that buyers love. You often see open living and dining flow, wide horizontal windows, sliding doors to patios, and original built-ins. Staging should honor those features so buyers can appreciate the architecture rather than look past it.
Local buyers shop online first, so crisp, well-lit images that show flow and usable space are essential. The right staging helps wide-angle photos read cleanly and makes virtual tours feel intuitive. Seasonal details also matter in Marion County. In spring and summer, show off outdoor seating and fresh landscaping. In fall, remove leaves and add warm textures inside. In winter, keep walkways clear, use warm lighting, and remove snow so the home feels welcoming.
Before you decide what to spotlight, confirm your home’s age and features using local property records and MLS details. If you have original elements like hardwood floors, built-ins, or period tile in good condition, plan your staging to showcase them.
Core midcentury staging principles
Honor the architecture
Use staging to highlight horizontal lines, low ceilings, wide windows, and built-ins. Remove heavy drapery that blocks natural light. If privacy allows, keep windows bare or use simple, low-profile treatments.
Scale and sightlines
Choose low-profile furniture that keeps sightlines open between living, dining, and patio areas. Arrange seating so you can see across rooms, not into the back of tall furniture. Use rugs to define zones without chopping the room. Leave 18 to 24 inches of visible floor between rug edges and walls in smaller rooms, or choose rugs large enough to anchor all front legs of seating.
Light and color
Pick neutral, light-reflective wall colors that photograph well, such as warm greige, soft off-white, or pale warm gray. Keep accent colors minimal and period-friendly in pillows or art. Layer your lighting. Combine ceiling, table, and accent lights, and match bulbs to a consistent warm white temperature of 2700 to 3000K.
Texture and materials
Let original wood, brick, or terrazzo show. Balance those materials with simple, contemporary textiles like wool, linen, leather, and matte metals. Keep surfaces clean and uncluttered.
Neutral but purposeful styling
Aim for clean lines and a few thoughtful accessories. Think a single sculptural vase, a couple of coffee-table books, or one large art piece. Avoid theme staging so buyers can picture their own style.
Room-by-room staging moves
Entry and foyer
- Clear the line of sight into the home.
- Add a low console or bench for function, plus a simple mirror and one plant.
- If you have midcentury built-ins, highlight them with a small accent lamp.
Living room and great room
- Choose low-profile sofas, about 15 to 18 inches seat height, with tapered legs to keep space feeling open.
- Float furniture to create a conversation area and maintain visual flow to dining and patio.
- Use a rug large enough for front legs of seating to rest on it. Common sizes are 8x10 or 9x12 for larger rooms, 5x8 for smaller ones.
- Keep decor simple: one statement art piece above the sofa and one or two sculptural accents.
- Open blinds and raise shades to maximize light. For privacy, use semi-sheer curtains hung high and wide.
Dining area
- If it is open to the living room, keep it connected but defined with a properly scaled table.
- Aim for about 36 inches of walkway space on each side when possible.
- Use a low centerpiece or simple place settings to show scale without clutter.
Kitchen
- Clear counters except one or two items, like a bowl of citrus or a wood cutting board.
- Remove magnets and papers from the refrigerator and stash small appliances.
- Emphasize clean lines and original cabinetry if present. Clean hardware and make sure everything shines.
Primary bedroom
- Use a low platform bed or midcentury frame and keep bedding simple: two to three layers and a couple of pillows.
- Aim for balanced nightstands with a lamp and minimal decor.
- Clear closets to about one-third capacity so storage reads as generous.
- Keep window treatments light and add a rug that extends beyond the bed.
Bathrooms
- Deep clean, remove scale, and refresh grout.
- Stage with fresh neutral towels, one plant, and a new soap dispenser.
- If period tile or fixtures are in good condition, let them be the star.
Home office or den
- Use a modest desk that suits the scale of the room.
- Keep surfaces tidy with a laptop, a pen cup, and one task lamp.
- Add a lounge chair if space allows to suggest flexible use.
Basement or lower level
- Show usable square footage with a TV or rec area or a small fitness zone.
- Brighten lighting and address any musty odors.
Outdoor spaces
- Highlight indoor and outdoor connection. Place a simple seating vignette by sliding doors or on the patio.
- Trim hedges, remove debris, and refresh mulch in season.
- Clear pathways, sweep, and add a clean doormat with one or two potted plants.
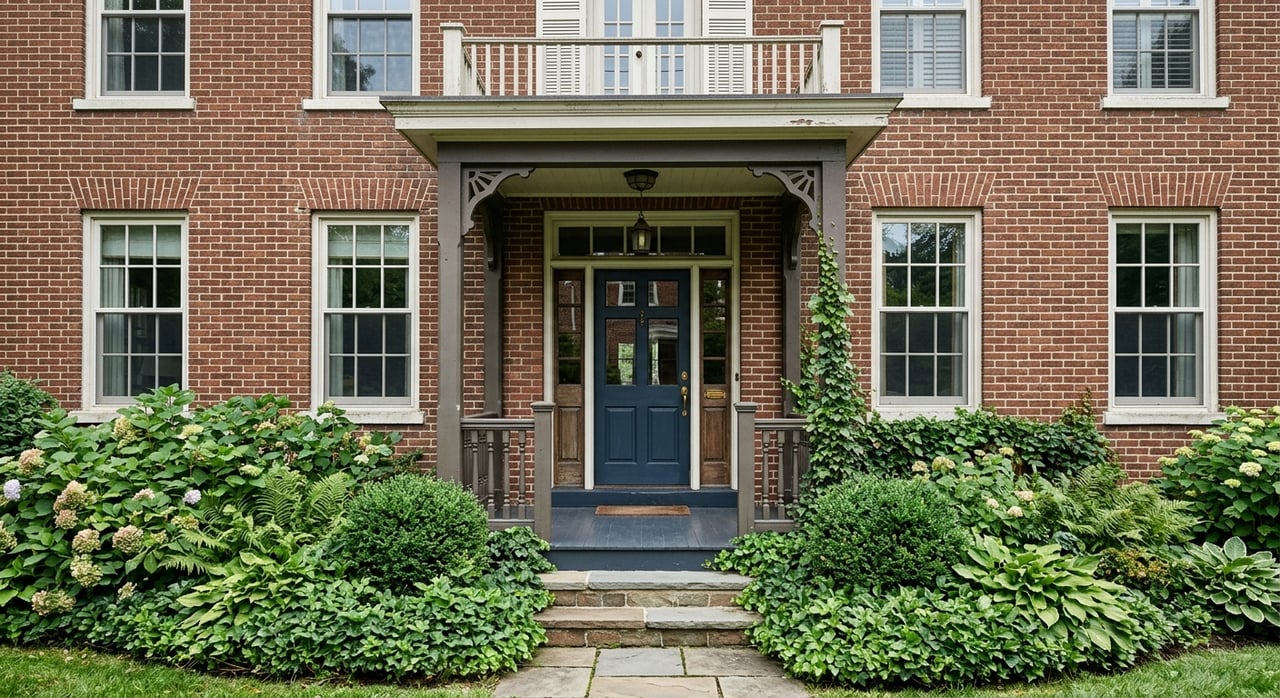
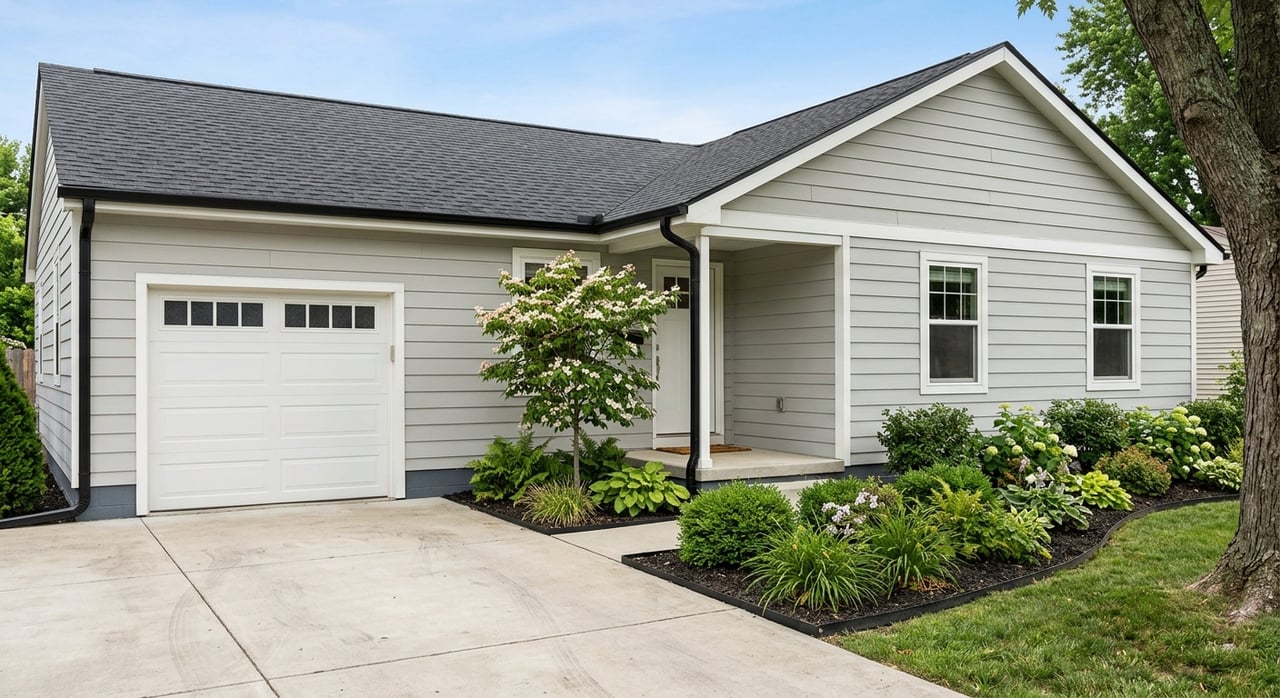
Curb appeal
- Clean or repaint the front door if needed with a tasteful midcentury-friendly color.
- Make sure house numbers are clean and visible.
- Match porch bulb color and confirm all fixtures work.
- Clean siding and gutters and repair any torn screens.
One-month photo-day timeline
Four weeks before photos
- Book your photographer and confirm deliverables such as number of photos, twilight shots, and any virtual tour or floorplan.
- Decide on full, partial, or seller-occupied staging. If renting furniture, place orders now.
- Schedule repairs and deferred maintenance work.
Two weeks before photos
- Finish painting, major repairs, carpet cleaning, and window repairs.
- Complete deep cleaning or hire a professional.
- Declutter and depersonalize. Start packing nonessential items.
Seven days before photos
Finalize furniture placement and accessories.
Replace bulbs so color temperature matches throughout, ideally warm white.
Confirm HVAC is working so the home feels comfortable.
Two days before photos
- Complete a professional clean if not already done. Steam drapes and bedding.
- Test lights and remotes and replace batteries as needed.
- Mow, trim, rake, and tidy outdoor seating.
Photo-day morning
- Turn on all lights 15 to 30 minutes before the shoot.
- Open curtains and blinds to bring in natural light. Remove screens that cause reflections if safe.
- Make beds, fluff pillows, fold throws, and stage fresh towels.
- Clear counters and hide trash bins, cleaning supplies, and pet items.
- Place one fresh floral stem or a small bouquet in living, dining, or kitchen.
- Wipe fingerprints from glass, mirrors, and stainless steel.
- Move cars off the driveway and remove visible trash cans.
- Control pets and remove their items from shots.
- Do a quick walkthrough with the photographer and confirm the shot list.
Hour-of checklist
- Lights on, curtains and screens adjusted, floors vacuumed and spot free.
- Mirrors smudge free, TVs off or set to a neutral image.
- Windows clean and exterior distractions minimized.
- Personal items out of sight, including medications and mail.
- Thermostat set to a comfortable temperature.
Photo and tour tips for midcentury homes
Composition and angles
Ask your photographer to take some shots from a slightly lower height to highlight midcentury horizontality and low furniture. Capture indoor and outdoor transitions that show sliding doors and patios. Wide shots should connect rooms so buyers can grasp the plan quickly.
Lighting and exposure
Open blinds and balance natural light with interior lamps. Your photographer will manage exposure, but consistent bulb color helps the entire set read warm and cohesive. For twilight or exterior shots, turn on porch lights and key interior lamps to create inviting glow.
Styling for photos vs. in-person
Photos favor streamlined styling, but in-person showings should still feel livable. Use proportionate accessories. One impactful piece beats many small items. Keep floors clear so rooms look larger and flow reads cleanly.
Virtual tours and floorplans
Clear pathways and keep clutter off floors. Avoid placing items directly in front of a 360 lens. Simple, clean lines help virtual tours stitch correctly and make floorplans easy to follow.
Mistakes to avoid
- Overfilling rooms with period furniture that hides the architecture.
- Dark or dramatic wall colors that shrink space in photos.
- Covering original features like built-ins or exposed beams instead of showcasing them.
- Skipping small touch-ups such as scuffed baseboards or damaged grout that show up in high-resolution photos.
Safety, rules, and disclosures
Historic considerations
If your home is within a historic area or has preservation rules, check with the appropriate local commission before altering exterior elements like doors or windows. When in doubt, verify guidelines before you make changes.
Safety during showings
Remove small throw rugs that could be trip hazards. Confirm railings and steps are secure. Make sure every room has safe access and clear egress paths.
Honest presentation
Do not misrepresent square footage or room function. Do not stage a non-bedroom as a bedroom. Let your floorplan and photos match how the home is described.
Ready to list for less without cutting corners
You do not need a big budget to stage a midcentury home well. You need a focused plan, clean lines, and smart lighting. If you want a partner to guide the process and bring it to life with professional photography and a clear timeline, our team can help. The Jeff Paxson Team pairs a transparent 4.5% listing structure with full-service marketing that includes a staging consultation, pro photos, MLS syndication, and active portal exposure. Ready to see what your Hill Valley home could sell for? Get your Free Home Valuation.
FAQs
What are the first staging steps for a Hill Valley midcentury home?
- Start with decluttering, a deep clean, and matched warm white bulbs, then arrange low-profile furniture to protect sightlines and highlight original features.
Which paint colors work best for Indianapolis light in midcentury homes?
- Choose neutral, light-reflective tones such as warm greige, soft off-white, or pale warm gray to enhance natural light and photograph well.
How should I stage outdoor spaces for Hill Valley buyers?
- Emphasize indoor and outdoor flow with simple patio seating, clear pathways, trimmed shrubs, and fresh mulch when in season.
What should I do if my kitchen or bath is dated but functional?
- Focus on spotless cleanliness, clear countertops, and tidy hardware; highlight any charming period tile or cabinetry that is in good condition.
How far in advance should I start the staging and photo plan?
- Begin about four weeks out by booking your photographer, scheduling repairs, and deciding on staging level, then follow a two-week and final-week prep.